Project setup
Last updated on 23 August 2023
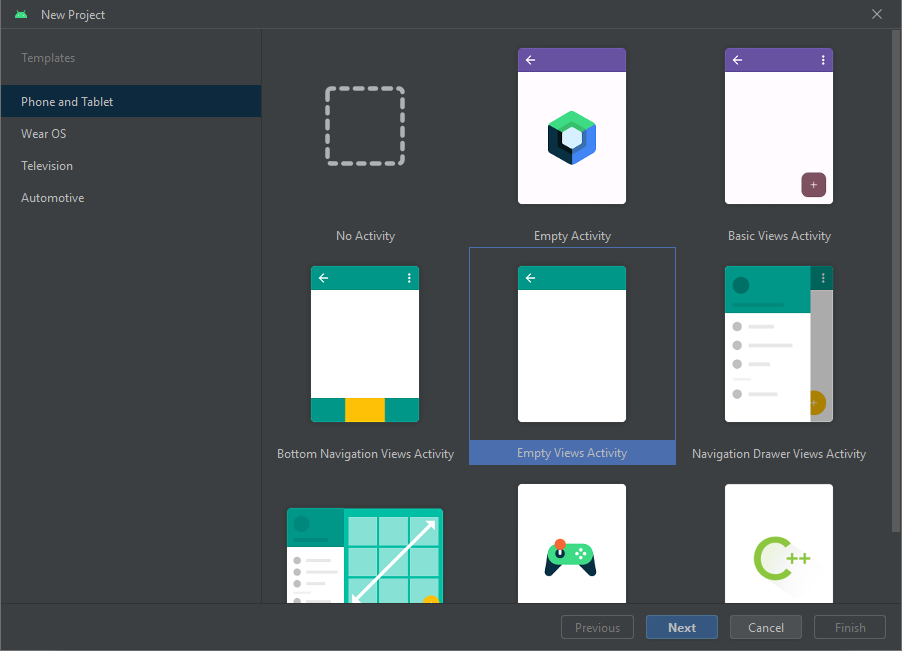
1. To set up the project, open Android Studio and create a new Empty Views Project.
1-image
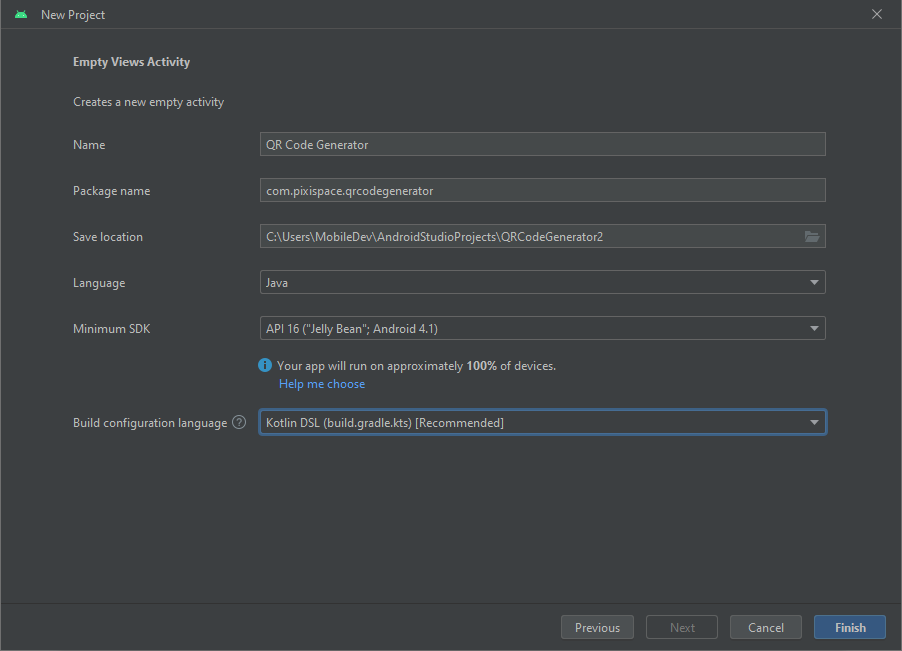
2. Next, for the details of the project, set the name as “QR Code Generator” or you can use a different name if you prefer that. Set the language to Java, since this tutorial will be using Java. For the Minimum SDK, choose API 16 so the app will be able to run on as many devices as possible.
2-image
3. When Android Studio has completed syncing dependencies, open the app/build.gradle file and enable view binding. Inside the android element, add:
Groovy code
buildFeatures {
    viewBinding true
}
If your project uses the app/build.gradle.kts file, remember to include the = as shown below:
Kotlin code
buildFeatures {
    viewBinding = true
}
That is all for the project set up. In the next part, we will start designing the user interface.