Landing screen design
Now we will create the first screen a user will see when the app has been opened. To be sure you are editing the correct file, check the AndroidManifest.xml file for an activity element that has as intent filter containing a category of android.intent.category.LAUNCHER. If you have not yet modified it, the manifest should have the default launcher activity as .MainActivity.
If you open MainActivity.java, and look at the onCreate method that is already implemented, you will see the line that has a call to the setContentView method. The argument to that method will be a reference to the XML file that will contain the UI (user interface) for the activity. The default name of the file is R.layout.activity_main.xml. Open the file for editing – it will be in the app/src/main/res/layout sub-folder.
With activity_main.xml opened, delete everything under the first/parent element, so that we have an empty view group widget. In the example code below, we have an empty ConstraintLayout .
Add the GENERATE button
We will have a button a the bottom of the screen that a user can tap on to show the QR code. Add the following code inside the ConstraintLayout:
We are adding a button that will have a width matching that of the parent, but will have a height that is just enough to show the text of the button. The button has a margin of 16dp so that it does not touch the edges of the screen. To make the button draw more attention to the user, it has uppercase text. In order to reference the button later in Java code, we will give the button an ID of generate_button.
For the button text, you will see there is a reference to @string/generate. Open your app/src/main/res/values/strings.xml file and add the following line:
Now if you run the app, you should see something like this:
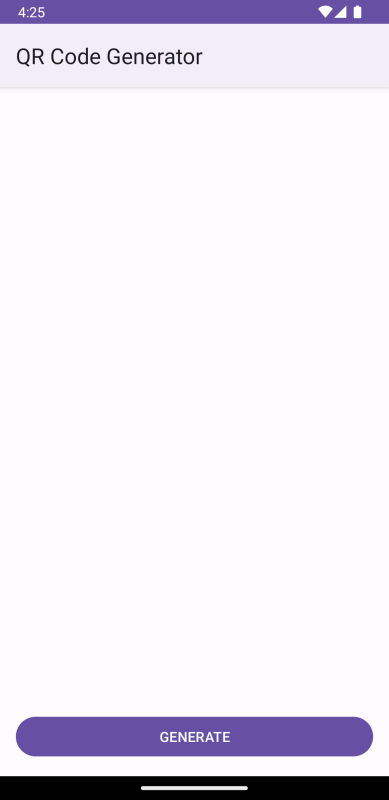
Screenshot