Color buttons and text input
Next, we will add the widgets that will allow the user to set the colors for the QR code image. We will have 3 buttons: one for the foreground color, another for the background color, and the third one will be for swapping the colors. First, add the button for swapping colors inside the ConstraintLayout:
Here, we are adding an ImageView that will be acting as button – we set it to be focusable and clickable. Note that the positioning attributes set the ImageView to be centered horizontally, and at the same time being anchored to the top edge of the parent view (the ConstraintLayout.) While it is anchored to the top, there is still a margin of 16dp. The size of the ImageView is set to be 44dp x 44dp. The ID is set to be swap_button. On a regular button widget, there is a very quick and short animation that is shown when a user taps on it. The effect is part of the user experience (UX) that informs the user that the button was tapped, making the app feel more responsive. To add a somewhat similar experience, the ImageView has the background set to ?selectableItemBackground .
For the android:contentDescription, add to the strings.xml file:
You will notice that the android:src attribute is set to @drawable/swap, which we do not have at this point. To create the drawable,
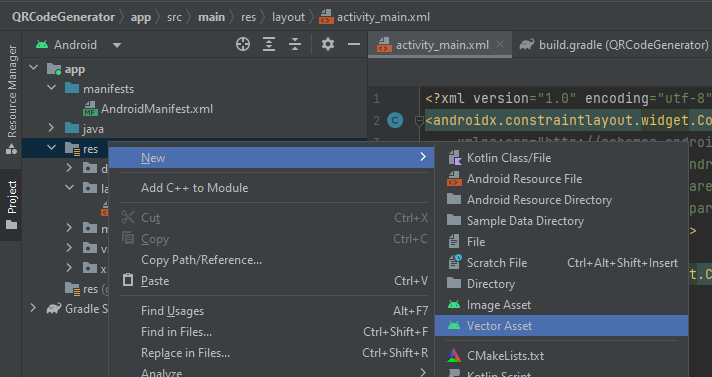
1. right-click on the res folder and from the menu that opens, select New → Vector Asset to open the Asset Studio window.
drawable 3
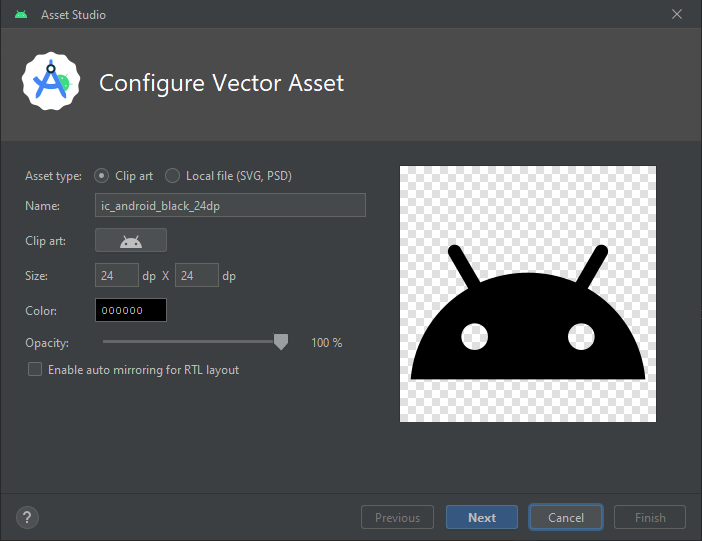
2. When the Asset Studio window is opened, make sure that the Asset type is set to Clip art. Click on the button next to the ‘Clip art ‘ label. It will open a window for you to select an icon.
drawable 5
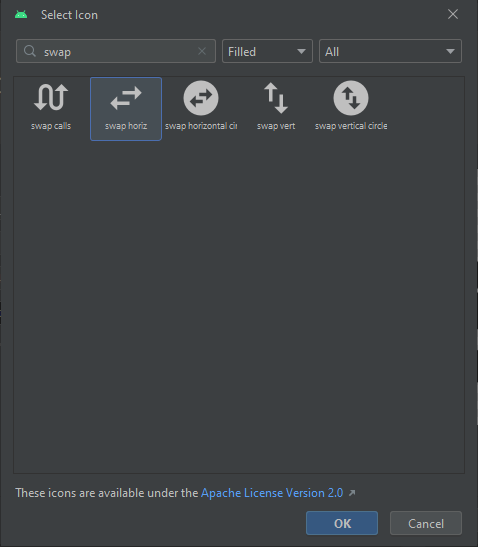
3. In the search box, type “swap” and then select the icon labeled “swap horiz”. Click OK to get back to the Asset Studio window.
drawable 7
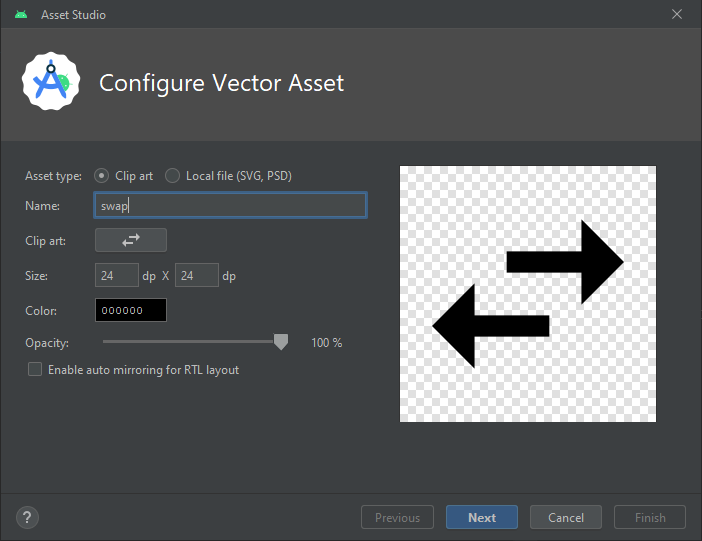
4. Back at the Asset Studio window, change the name of the icon to “swap” so that it matches the name we have already typed in the activity_main.xml file.
drawable 9
5. Click Next, Next and then Finish to close the Asset Studio.
At this point, we now have the ImageView set correctly to act as the button to swap colors.
Foreground color button
Next, we will add the button for selecting the foreground color. Add the code shown below to the ConstraintLayout:
All we are doing is setting the button to be 16dp before (to the left on Left-to-Right screens) the swap button. The width is set to 132dp and the button is also anchored at the top to be at the same level as the swap button. The ID of the button is set to be fore_color_button.
Background color button
Background color button For the background button, add the code below to the ConstraintLayout. This button is set 15dp to the end of the swap button with a width of 132dp, while the top is anchored to the same vertical level as the swap button. For referencing this button in Java code, we have set the ID to be back_color_button.
Adding the text input box
For the text input box, we will set it up such that if a lot of text is typed or pasted in it, the box will be able to scroll up/down. This is a good place to use a ScrollView. Add the following ConstraintLayout:
The ScrollView is set to have a height of 0dp. This is because the ConstraintLayout will stretch it to be anchored to the bottom of the fore color button while at the same time the bottom of the LinearLayout will be anchored to the top of the “generate” button. In other words, the ScrollView will be stretched to fit the space in the middle of the screen. The width will match that of the ConstraintLayout.
Next, enter the following code inside the ScrollView:
We added a TextInputEditText with an ID of edit_text. At most, it can accept 1000 characters inside it. This is important as we want to place a limit on the amount of text we can encode into the QR code. An important feature is that the the text box has been set to accept multiple lines. The text box is inside a TextInputLayout which will show the counter for the number of characters currently in the text box. The TextInputLayout also has the hint for the text box set as a reference to string resource (@string/text_data.) Add the following to your strings.xml file:
Now is a good time to run the code we have so far to make sure it compiles without any issues. If you entered the code well, you should have the app looking like the screenshot below:
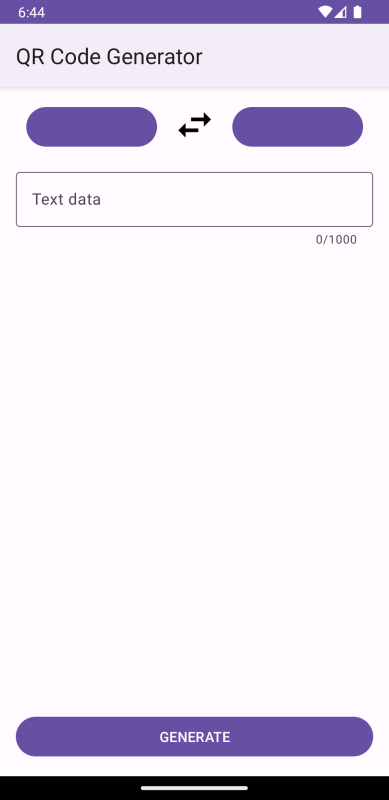
summary screenshot
If your code compiles and runs without any issues, you are ready to go the next part, where we will customize the appearance of the buttons for colors. If your code is not building correctly, you can make sure that your code for the activity_main.xml file matches the code below: