Color picker fragment setup
When a color button is tapped or clicked, the app will show a dialog window that will allow choosing a color based on the RGB color scheme . We will define a class named ColorPickerFragment that will extend the DialogFragment class so as to manage the dialog window that will be displayed:
ColorPickerFragment will make use of a default color that will be passed to it when a color button is pressed. If no default color is passed, black will be used instead. The class also has a static TAG property and it will be used later by the fragment manager for the app. The most important part of the ColorPickerFragment class is the onCreateDialog method. It sets the dialog to be non-cancelable (meaning the user can't dismiss it by tapping outside or pressing the back button), and then it creates an instance of ColorPickerDialog, passing in the default color and the application context. We have not yet created the class definition for the dialog window, ColorPickerDialog.
We already designed the layout for the dialog window in part 7 - Color picker layout. The widgets will be accessed by use of view-binding. The title for the dialog window is set to "Select color" and the selected color that is applied:
In the constructor, we added a reference to R.style.DialogStyle, which will apply a few attributes to the style. Open your values/themes.xml file and add the style:
To keep things simple, you can delete the values-night/themes.xml file if you have it. We will not be using it for this project.
Next, we will set the values for the preset colors to the Chip widgets, that will be used to quickly select some colors. When a Chip is selected, it will be checked (a check/tick mark inside). For some Chip widgets, the background color might be very close to the color of the check mark (black or white). To improve visibility and to make the check marks look more visually appealing, we will apply different colors for check marks, depending on the color of the Chip widget. To easily manage this information, we will use a static helper class named PresetData inside the ColorPickerDialog class:
All that PresetData will do is pair a Chip widget with a boolean indicating whether to use a dark colored check mark or not. Since we have a lot of Chip widgets, we will use a HashMap to maintain a collection of the PresetData objects for the Chip widgets. Add the hashmap as a property for the ColorPickerDialog class we already created:
To set the preset colors for each Chip widget, add the following method inside the ColorPickerDialog:
... and then remember to call it inside the constructor:
Note that each Chip has a tag set to the string value representing the hex value of the applied background color. The tag will be used later to identify a particular chip. It would be nice to run the app at this point to see what the dialog looks like.
Earlier, we set the ColorPickerFragment to be modal, so we need a way to dismiss the dialog fragment when it shows a dialog window. Add the setListeners method inside the ColorPickerDialog class:
... and don't forget to call the method inside the class constructor:
The setListeners method sets what happens when the 'cancel' or 'apply ' button is pressed. When the cancel button is pressed, this dialog is simply dismissed by calling the dismiss method that is inherited from the parent Dialog class by ColorPickerDialog. When the apply button is pressed, the dialog is dismissed after the selected color is applied to the MainActivity class. Let's add the method that applies the selected color to MainActivity:
The setNewColor method applies the fore color or back color depending on the value of the settingForeColor boolean variable. We do not have the variable at this point, add it to the MainActivity. Later, the variable will be set depending on the color button that the user presses.
Now is a good time to fill in the currently empty showColorPicker method in MainActivity:
What we are doing is setting the settingForeColor variable to indicate whether color to be selected will be applied as a fore color or back color in the setNewColor method we defined earlier. We set up a fragment manager to handle the ColorPickerFragment, which will in turn display the ColorPickerDialog. Not that the current value of the color to changed (fore color or back color) is passed to the ColorPickerFragment so that the user will be show the current color in the dialog when it is shown.
If you run the code and click on one of the color buttons, you should see a dialog that looks like this:
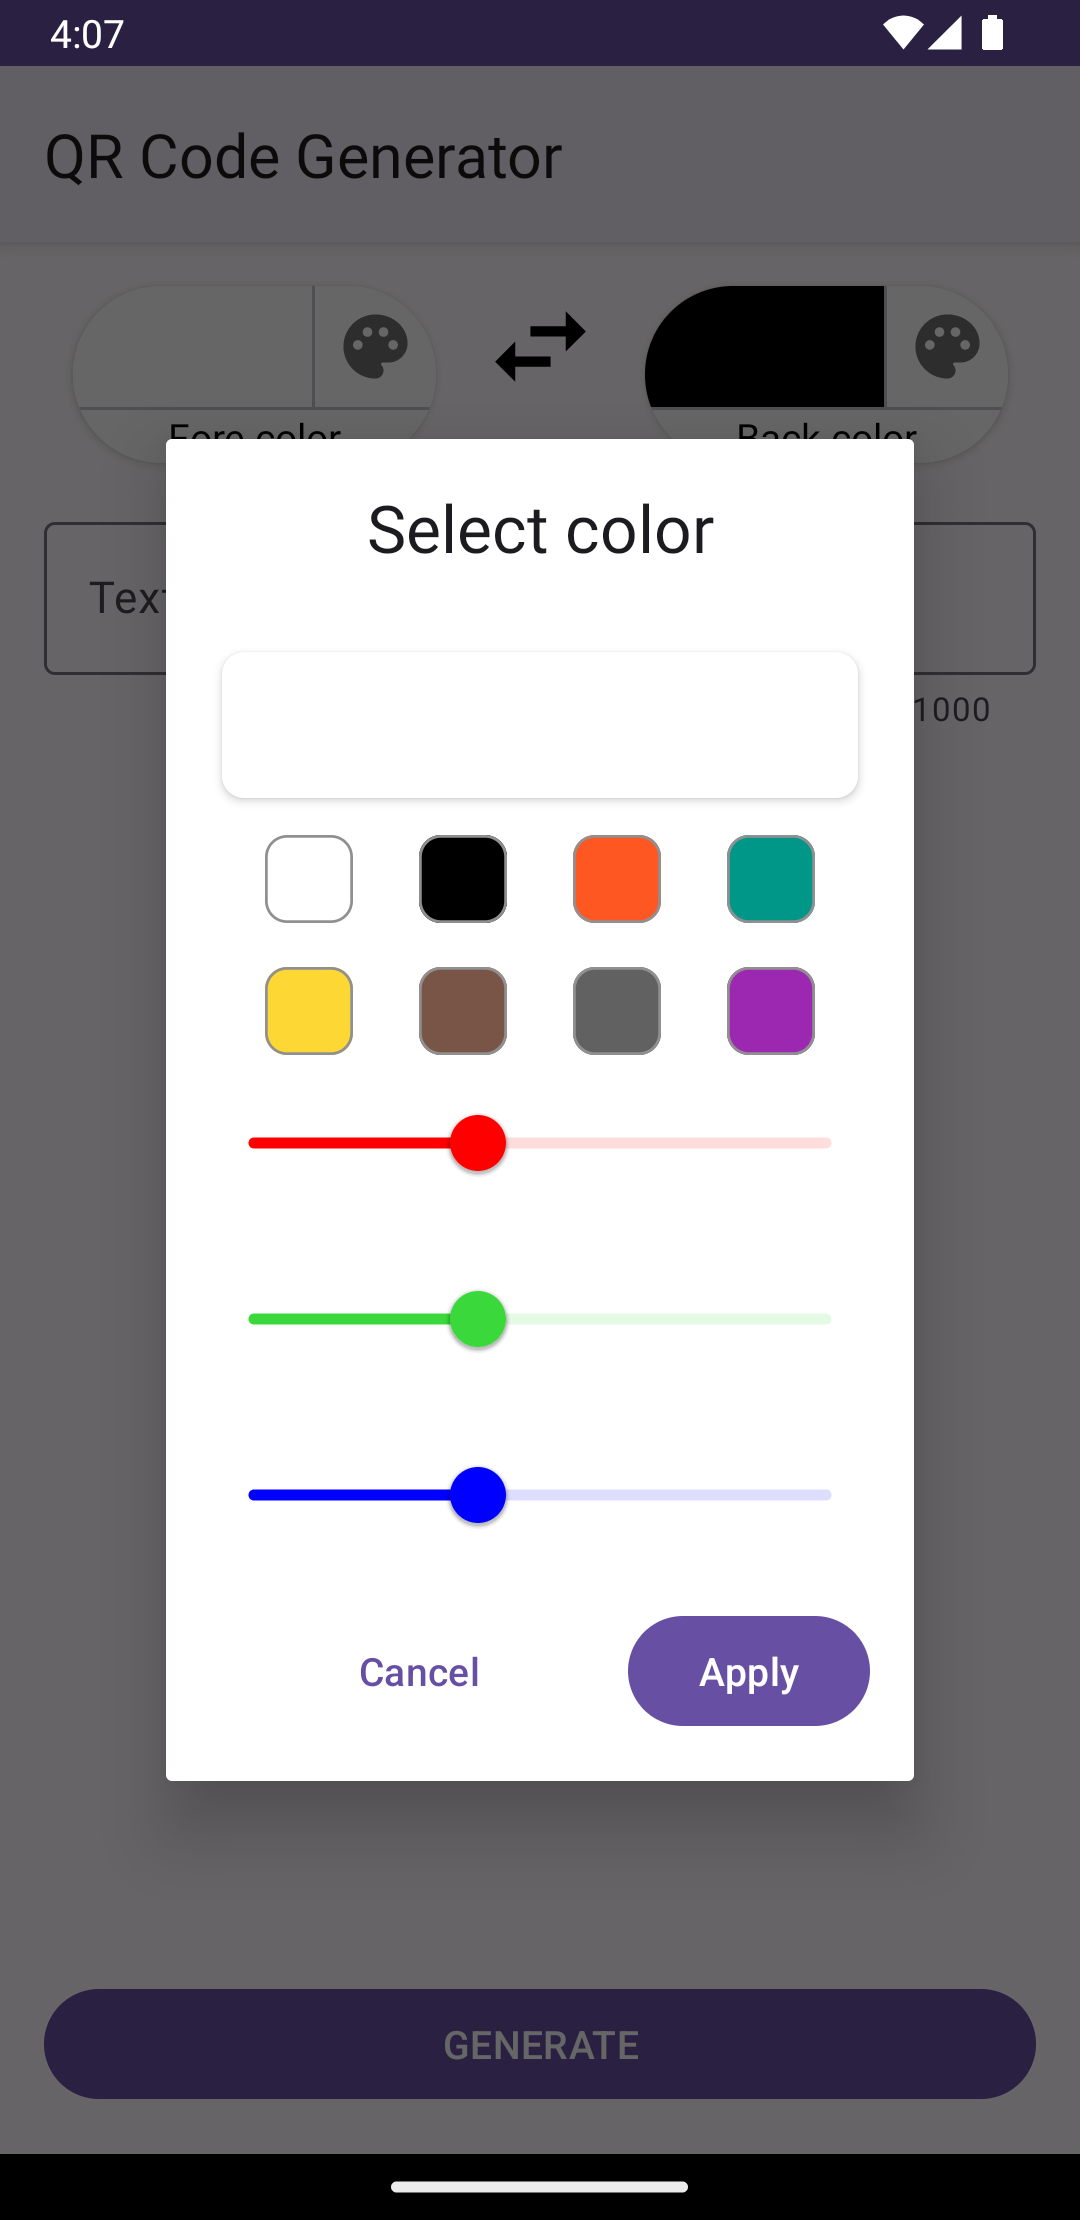
s26
Of course, it is only the Cancel and Apply buttons that will respond to user actions. The Chip and Slider widgets do not have handlers at this point, we will do that in the next parts of this project. If for some reason your code is not compiling successfully or you do not see the expected results, make sure that the MainActivity and ColorPickerDialog match the source files for the project up to this point