Show color picker dialog
The user must be able to change the foreground and background colors used for the QR code that will be generated. To open up the color picker, the user will tap or click on one of the two custom buttons we have already designed. Let's write the code to open the color picker dialog.
We will be working with the MainActivity.java file, open it if you do not already have it opened.
The unmodified onCreate method should look like we set it previously in the Landing screen design part of this project:
Notice that setContentView is given a layout file resource named activity_main. This is okay, but that means to access the individual widgets, like the buttons we need, we will have to call the findViewById method (read more here ) for each of the widgets we will need to make available. An alternative is to take advantage of view binding. If you followed all the steps for this project, then you will remember that we already enabled view binding in Project setup. Declare an instance of ActivityMainBinding as a private class variable/member for the MainActivity class:
You might need to import the ActivityMainBinding class in the imports section of the MainActivity.java file. Next, instantiate the binding variable and use its root widget with a call to setContentView in the onCreate method of the activity:
Now that the binding variable is properly instantiated, we can use it to access any of the widgets in the layout file, provided the widgets have the android:id attribute set. But we still are not able to access the widgets in layout file we used in the <include>s for the custom buttons. For that, we will also need to create bindings to the layout file for each of the 2 buttons. Just as we declared an instance of the ActivityMainBinding, we will also do the same for LayoutColorButtonBinding. Remember to add the import for the LayoutColorButtonBinding class, if it is missing::
The names of the classes ActivityMainBinding, LayoutColorButtonBinding depend on the names of the layout files we created already. Android Studio auto-generates the classes.
In the onCreate method, add calls to 2 methods named setColorButtons and setListeners:
setColorButtons must be called before setListeners because the latter depends on variables that are set by the former. Add the definitions for the methods as follows:
Starting with the setColorButtons method, we are setting the buttons to instances that are properties of the binding instance of the activity. The buttons have the text set appropriately by use of string references, so add the following values to your strings.xml file:
We have calls to methods we have not yet defined: setForeColor and setBackColor. They do as their names would suggest, setting the foreground and background colors. They take values, which are member variables of the MainActivity class:
The foreColor and backColor variables will be changed later from by calls to the setForeColor and setBackColor methods, which are defined as follows:
Each of the methods for setting a color sets the background color property of the View widget we named canvas in the layout_color_button.xml file. Also note that the color is applied to the appropriate variable (foreColor or backColor) to keep track of both colors while the app is running.
Moving on to the setListeners method, we are setting click listeners for each of the buttons for setting colors. The listener for each button is set on the root widget in the layout which we gave the ID container. Double check and make sure the root widget in layout_color_button.xml has the android:focusable and android:clickable set to true. If they are not set, the listeners will be ignored. Each of the listeners call the method showColorPicker with a boolean value to indicate whether the color is for the foreground or background:
For now, we will leave the showColorPicker method empty and make sure that the project builds successfully. At this point, your ActivityMain.java file must have the following code:
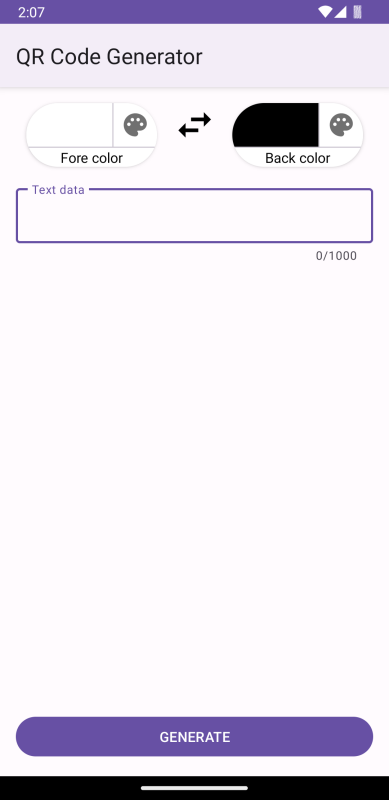
If you run the app at this point, you should see something like this:
13